Monday, 18 May 2015

Friday 15th May

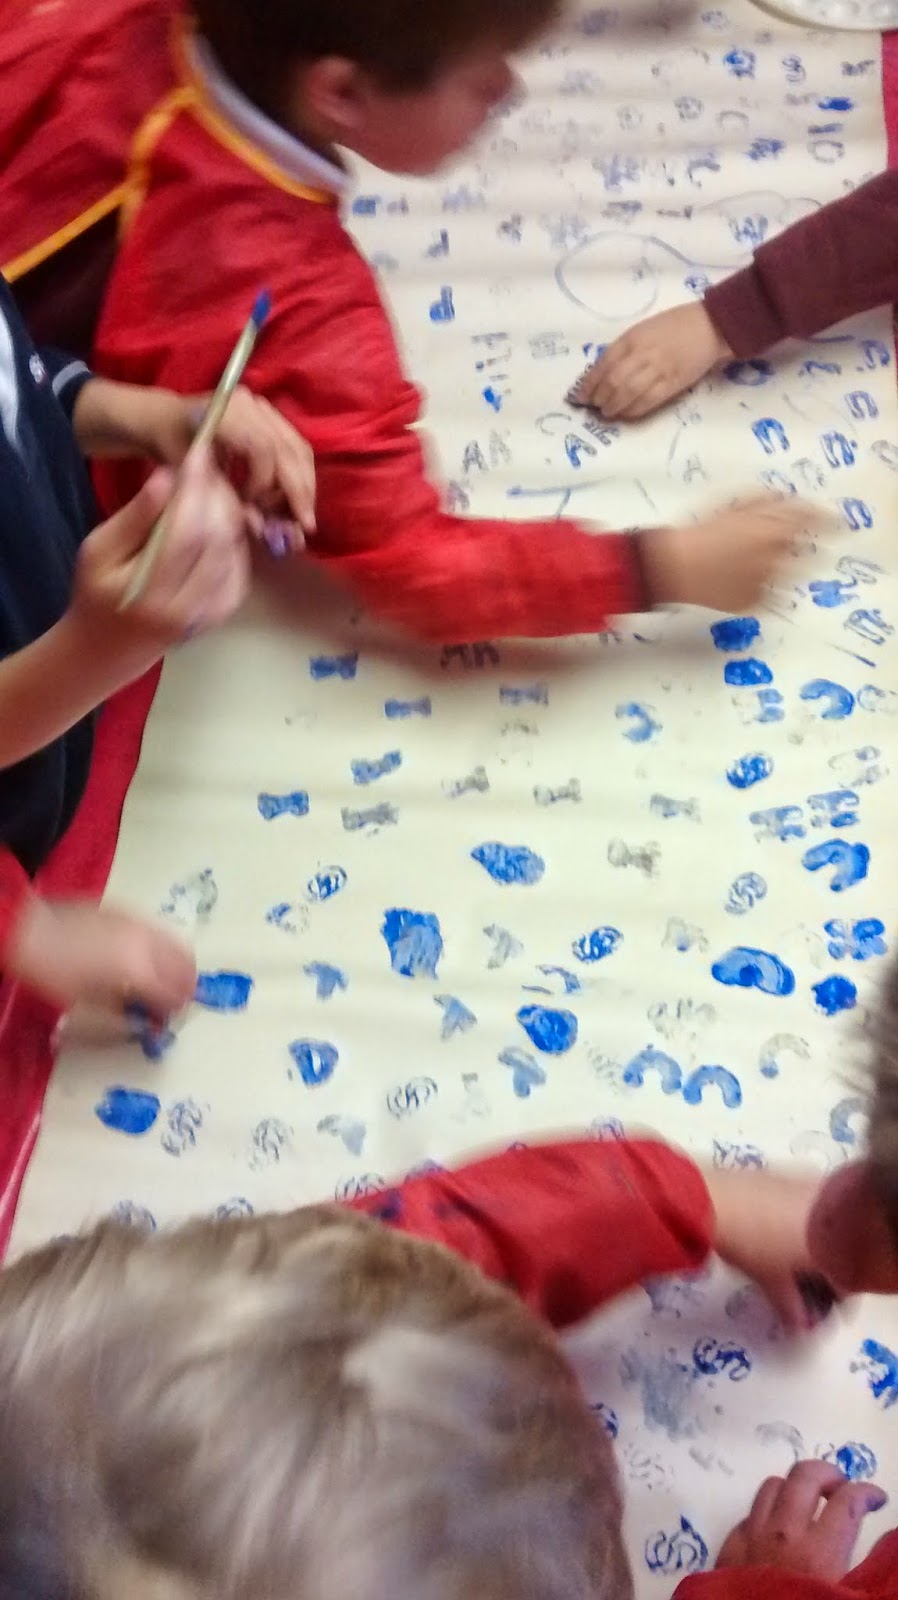
The first group to attend today's workshop was the Junior infants. Their cups had been prepared with a painting of a white base layer so they could get straight into painting their designs onto their cups. We passed around numerous images and pattern types to give them some ideas. Once they got over the limitations of only using blue and white, they got stuck into the design process. They were using the cotton buds to apply the paint to their cups and it was very interesting to see how the different children approached this and used the buds in various ways. Some were intent on just covering the cup in the one colour, some use the buds to make a pattern and others make recognisable shapes on the surface. It was great to see them notice that when the inside of the cup was painted with a particular design that it changed the perception giving it a 3D effect in some cases. Once girl did a lovely design on the inside of her cup that when looked at from above, looked like a rose. Once all the cups were completed they then moved onto painting the bunting using numerous foam stamps, cotton buds and eventually fingers and hands! 


The next group attending workshops were the 3rd & 4th Class. They were also at the stage of painting their cups but their cups had only been prepared with a coat of gesso primer paint, Using this type of primer makes it easier for them to then only need to apply one layer of base coat before applying their design. The primer also makes it easier for the base layer to dry using a hair dryer for a few minutes. We passed around the different designs and patterns to give them some ideas and they had the option of using brushes as well as cotton buds. It was great to see how creative they could be with something as simple as a cotton bud and there were a lot of interesting designs by the end of the session. We explained that the cups will all need to be painted with PVA glue to protect them from the elements as they will be outdoors for the finished installation. 


The Final group to attend the workshop was the 5th & 6th Class. Their cups were dried and prepared with a layer of gesso primer the same as for the previous group. Once they had decided on which colour to use as a base layer, we then dried them using the hair dryer in order for them to then apply their chosen design. As with the last group they could use either brushes or cotton buds for the design. 


We also had some of the children helping to make colourful flag bunting using paint swatch cards and twine which will also be used as decoration around the installation. 

It was great to see all the painted cups from the day lined up and they created quite and impact with the limited use of colour and it will be exciting to see how they look when all 131 are in place!


Friday 8th May


I’m a bit late in getting round to blogging about these workshops but here goes anyway. We began the day with all of the children in the Nead na Coille. They had great fun painting their teacups in the blue and white colours. The cups they had made previously had been painted a base colour of white to enable them to get straight into doing their patterns. They began by using paint brushes but then they swiftly moved onto using cotton buds as this encourages them to make shapes rather than painting the entire cup the one colour. Some of the children in the younger group also made some bunting when they had finished their cups. To do this they painted, stamped or used their hands to make marks onto the back of a roll of wallpaper which will be cut into triangles and sewn to wool to make bunting to hang around the finished installation adding to the party atmosphere.


The next group to attend workshops this day was the 1st & 2nd class. A lot of the 2nd class were missing as they had an optional half day in preparation for their First Communion the following day. Their cups had also been painted a base colour of white to enable them to get straight into painting the patterns. We had passed around numerous print outs of suggested shapes such as flowers, butterflies, ships, pirates, birds etc, to help get them started. They also used the cotton buds to make their designs. the buds proved much easier to control than a regular brush and they were surprised by the number of shapes they could be used to make: dots, stripes, waves, zig zags, spirals. Some of the children were finished their cups before the session was over so they went on to make bunting in the same was as the Nead na Coille group. 


 The final group to attend the workshops was the 5th & 6th Class. This was their first time taking part in the project so they were looking forward to finally getting stuck in! We spoke about the finished installation piece and what other items will need to be made over the coming weeks. They still had to make their teacups so we walked them through the process explaining how to rip the paper and what size prices are best suited to the task. They enjoyed the glueing process and all the cups were completed with handles and left to dry on the window sill over the weekend. 

Monday, 4 May 2015

Friday 1st May. The first group attending the workshops today was the Early Intervention class that are part of the Nead na Coille. We passed around a pre-made teacup for them to see what they would be making today. They all loved the texture of the cup and were fascinated that something that felt so hard was made from only cardboard and paper. We explained that the process of the glue drying makes the items very hard and durable. They started the process with great energy and made a great job of tearing the sheets of newspaper into small strips no bigger than the size of their hand. As certain textures can be challenging for children with certain learning difficulties, it was great that most of them used their fingers when applying the paste onto the paper. The result of the days’ workshop was some terrific looking teacups. We also spoke about the next stage of painting their cups, and for them to look at patterns in their everyday life to give them ideas for their designs. Senior Infants. This was their first time attending the workshops so we explained what the project was about and passed around the pre-made teacup for them to visualize what they would be making today. They got to work preparing the newspaper by tearing it into smaller strips. We explained that they need to keep the sheets of paper flat and tear it gently as if it was crumpled it would be harder to tear and also less likely to give a smooth surface on their cup. Next we went through the process of pasting the paper sheets onto the cardboard base using their fingers. We stressed how important it is to smooth the paper onto the surface making sure there are no lumps and bumps as they will dry that way and be difficult to paint. While the children were doing this we talked about the project and the different characters in the story and who their favourite is (the rabbit got the most votes!). 3rd & 4th Class. In the last workshop, the 3rd & 4th class students had begun the construction of their teacups so today they needed to either finish or touch up the cups and make their handles. As they are all now quite familiar with the process, they got to work straight away and even had the time to cover their handles before attaching them to the finished teacups. They were curious to know why they would be limited to only 2 colours when painting their finished cups. We explained that when they are finished and installed they would have a far greater impact giving the impression of a large mass of cups rather than a mish mash of different colours. They enjoyed discussing what they might paint as we explained that the cup should represent themselves and although they maybe uniform in colour, once looked at closely, each one would be unique in design. These should be regarded as a way to express their interests, opinions and what makes them different from their classmates. Some spoke about sing a horse shoe in their design as they are very keen on horse riding. These symbols can be combined with patterns such as dots, lines, circles, or anything they wish to use so we encouraged them also to look at everyday objects for inspiration.

Monday, 27 April 2015

Classes attending both workshop: Nead na Coille ASD class, 1st & 2nd class. The Nead na Coille is a special unit in Farran National School that caters for children with autism. It is broken up into the Special ASD class which caters for children of primary school age, and the early intervention class. On Friday the pupils in the ASD class joined us to make their small teacups that will be included in the installation. We explained to the children what we were making and showed them a finished teacup so they could visualize the finished piece.
The children were working with pre-made cardboard templates that were put together with masking tape. They had to attach the base themselves using tape. They then were given sheets of newspaper to tear up into manageable pieces no bigger than their hands. They loved the sound the paper made as they were tearing it into strips. Once there was enough paper, they then dipped their hands into the flour paste and rubbed it into both sides of the newspaper before smoothing it onto the cardboard template. They worked very hard at ensuring the paper was on correctly as it was explained that any lumps and bumps would remain once the paste had dried. They were fascinated that their cup which felt soft would dry and harden to resemble the one previously made by simply using a mixture of flour and water. Once the cups were covered fully twice with paper, they then made the handles by wrapping paper around the cardboard template and then bending it gently into an ‘S’ shape. These were then left of the window to air dry in the sun.
All the children thoroughly enjoyed the process and are looking forward to the next stage of painting their teacups. To prepare them for this stage we asked them to look at different patterns on objects in their daily lives that could be used to create their unique designs. 1st & 2nd class. The children also began the construction of their teacups for the installation. It helped having a finished teacup to pass around and again everyone was amazed at how hard and durable the cup was after the paper mache process was complete. !st & 2nd class were familiar with the basic process when they made the giant saucers a few weeks previously and we reminded them to tear the paper into manageable strips no bigger than the size of their hand. The children did an excellent job on making their cups and anyone who had finished then went to help any classmates who found the process a little more challenging. We discussed the patterns that are used on porcelain china cups that the children may have seen at home and what types of designs they may use themselves. The children will be limited to 2 colours when painting; blue and white. Having only 2 colours will give a level of uniformity to the teacups that will create a bigger impact than if they were all different colours. It also encourages the children to be more creative and having to look in more detail at patterns and designs to help create a unique item. They are encouraged to look at everyday objects around them for inspiration.

Thursday, 23 April 2015

Friday 17th April Classes attending both workshops: Junior infants, 1st & 2nd class On Friday both classes began the construction of their personalised teacups. We explained to the children that as well as the larger pieces that make up the table settings every student will also create their very own teacup that will also be on display as part of the larger installation. These are made using cardboard to create the base which is then covered with strips of torn newspaper in the form of paper mache. The original pattern for the teacups comes from the site http://www.ohcrafts.net/gifts-paper-mache-teacup.php. The older classes used pre-cut templates made from cardboard, and put them together using masking tape. They then stuck a circle on the bottom to make up the base. Then the children applied the newspaper using the flour paste with their hands. We explained to the children how the paste is made from a mixture of flour, hot water and salt. The older children had used this process in their last workshop and so were familiar with it.
The younger children had the initial part of the construction already done and then applied the base onto their cup using the masking tape. The junior infants were doing it for the first time and all thoroughly enjoyed getting their hands into the paste and did so with gusto. They spoke about the texture of the paste and the overall conclusion was sticky and gooey but fun! The younger class also made the handle to go with their cup. This was made from a pre-cut cardboard template that is first covered with newspaper and paste and then while it is still wet, is then bent into and ‘S’ shape. Once dried it is then attached to the teacup using newspaper and paste.
While they were applying the newspaper and paste we discussed what the teacups might look like when finished. Some of the younger children spoke of their Granny’s good china as a reference with the type of designs that might be used when painting the finished teacups. We advised the children to look at patterns, shapes and designs around them in their daily lives to help come up with designs for their own teacups.